Set-up and creating data files > Pest list set-up > Setting up the pest list
Looking for something specific in the page and not quite sure where to find it? You can always press CTRL + F on your keyboard and type a keyword. Or you can do a search (in the top right corner).
Setting up the pest list
You use the pest list when you record pesticide operations and observations. By default, the program has three types of pests: Disease, Insect, and Weed. You can customize the list by using this setup dialogue box to add additional pests that aren’t included with the program. You can also delete pests that aren’t relevant to your area from the lists.
- From the Field Manager PRO Desktop menu, select Setup, and Pest List. The Pests dialogue box will appear.
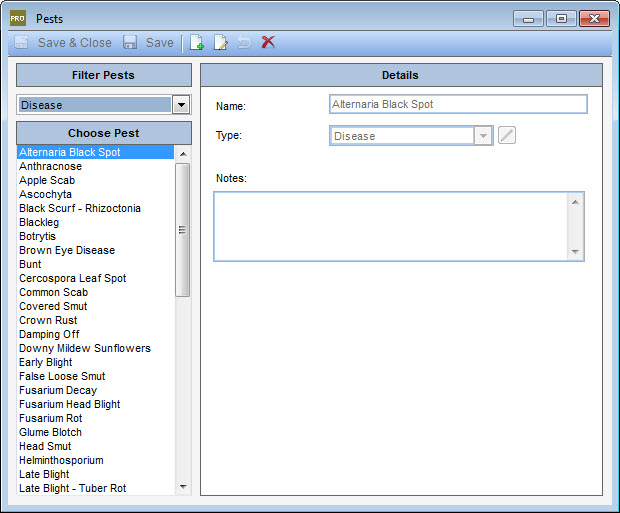
- To add a new pest, click the New icon
 on the toolbar.
 - Enter the Name of the disease, insect or weed.
- Select the Type drop-down menu and select the type of pest to add to the list (Disease, Insect, orWeed) or enter a different type if it doesn’t appear. Once you add your own type of pest, it will appear in the Filter Pests option throughout the program.
- Click Save. To enter another pest, click New.
- Click Save & Close.
Last updated on August 25, 2014 by FCC AgExpert